 Open app
Bring your venue into 3D
Prepare your venue, define each space and review the model your team will use.
 1 unique space
 1 unique space
 1 unique space
What counts as a space
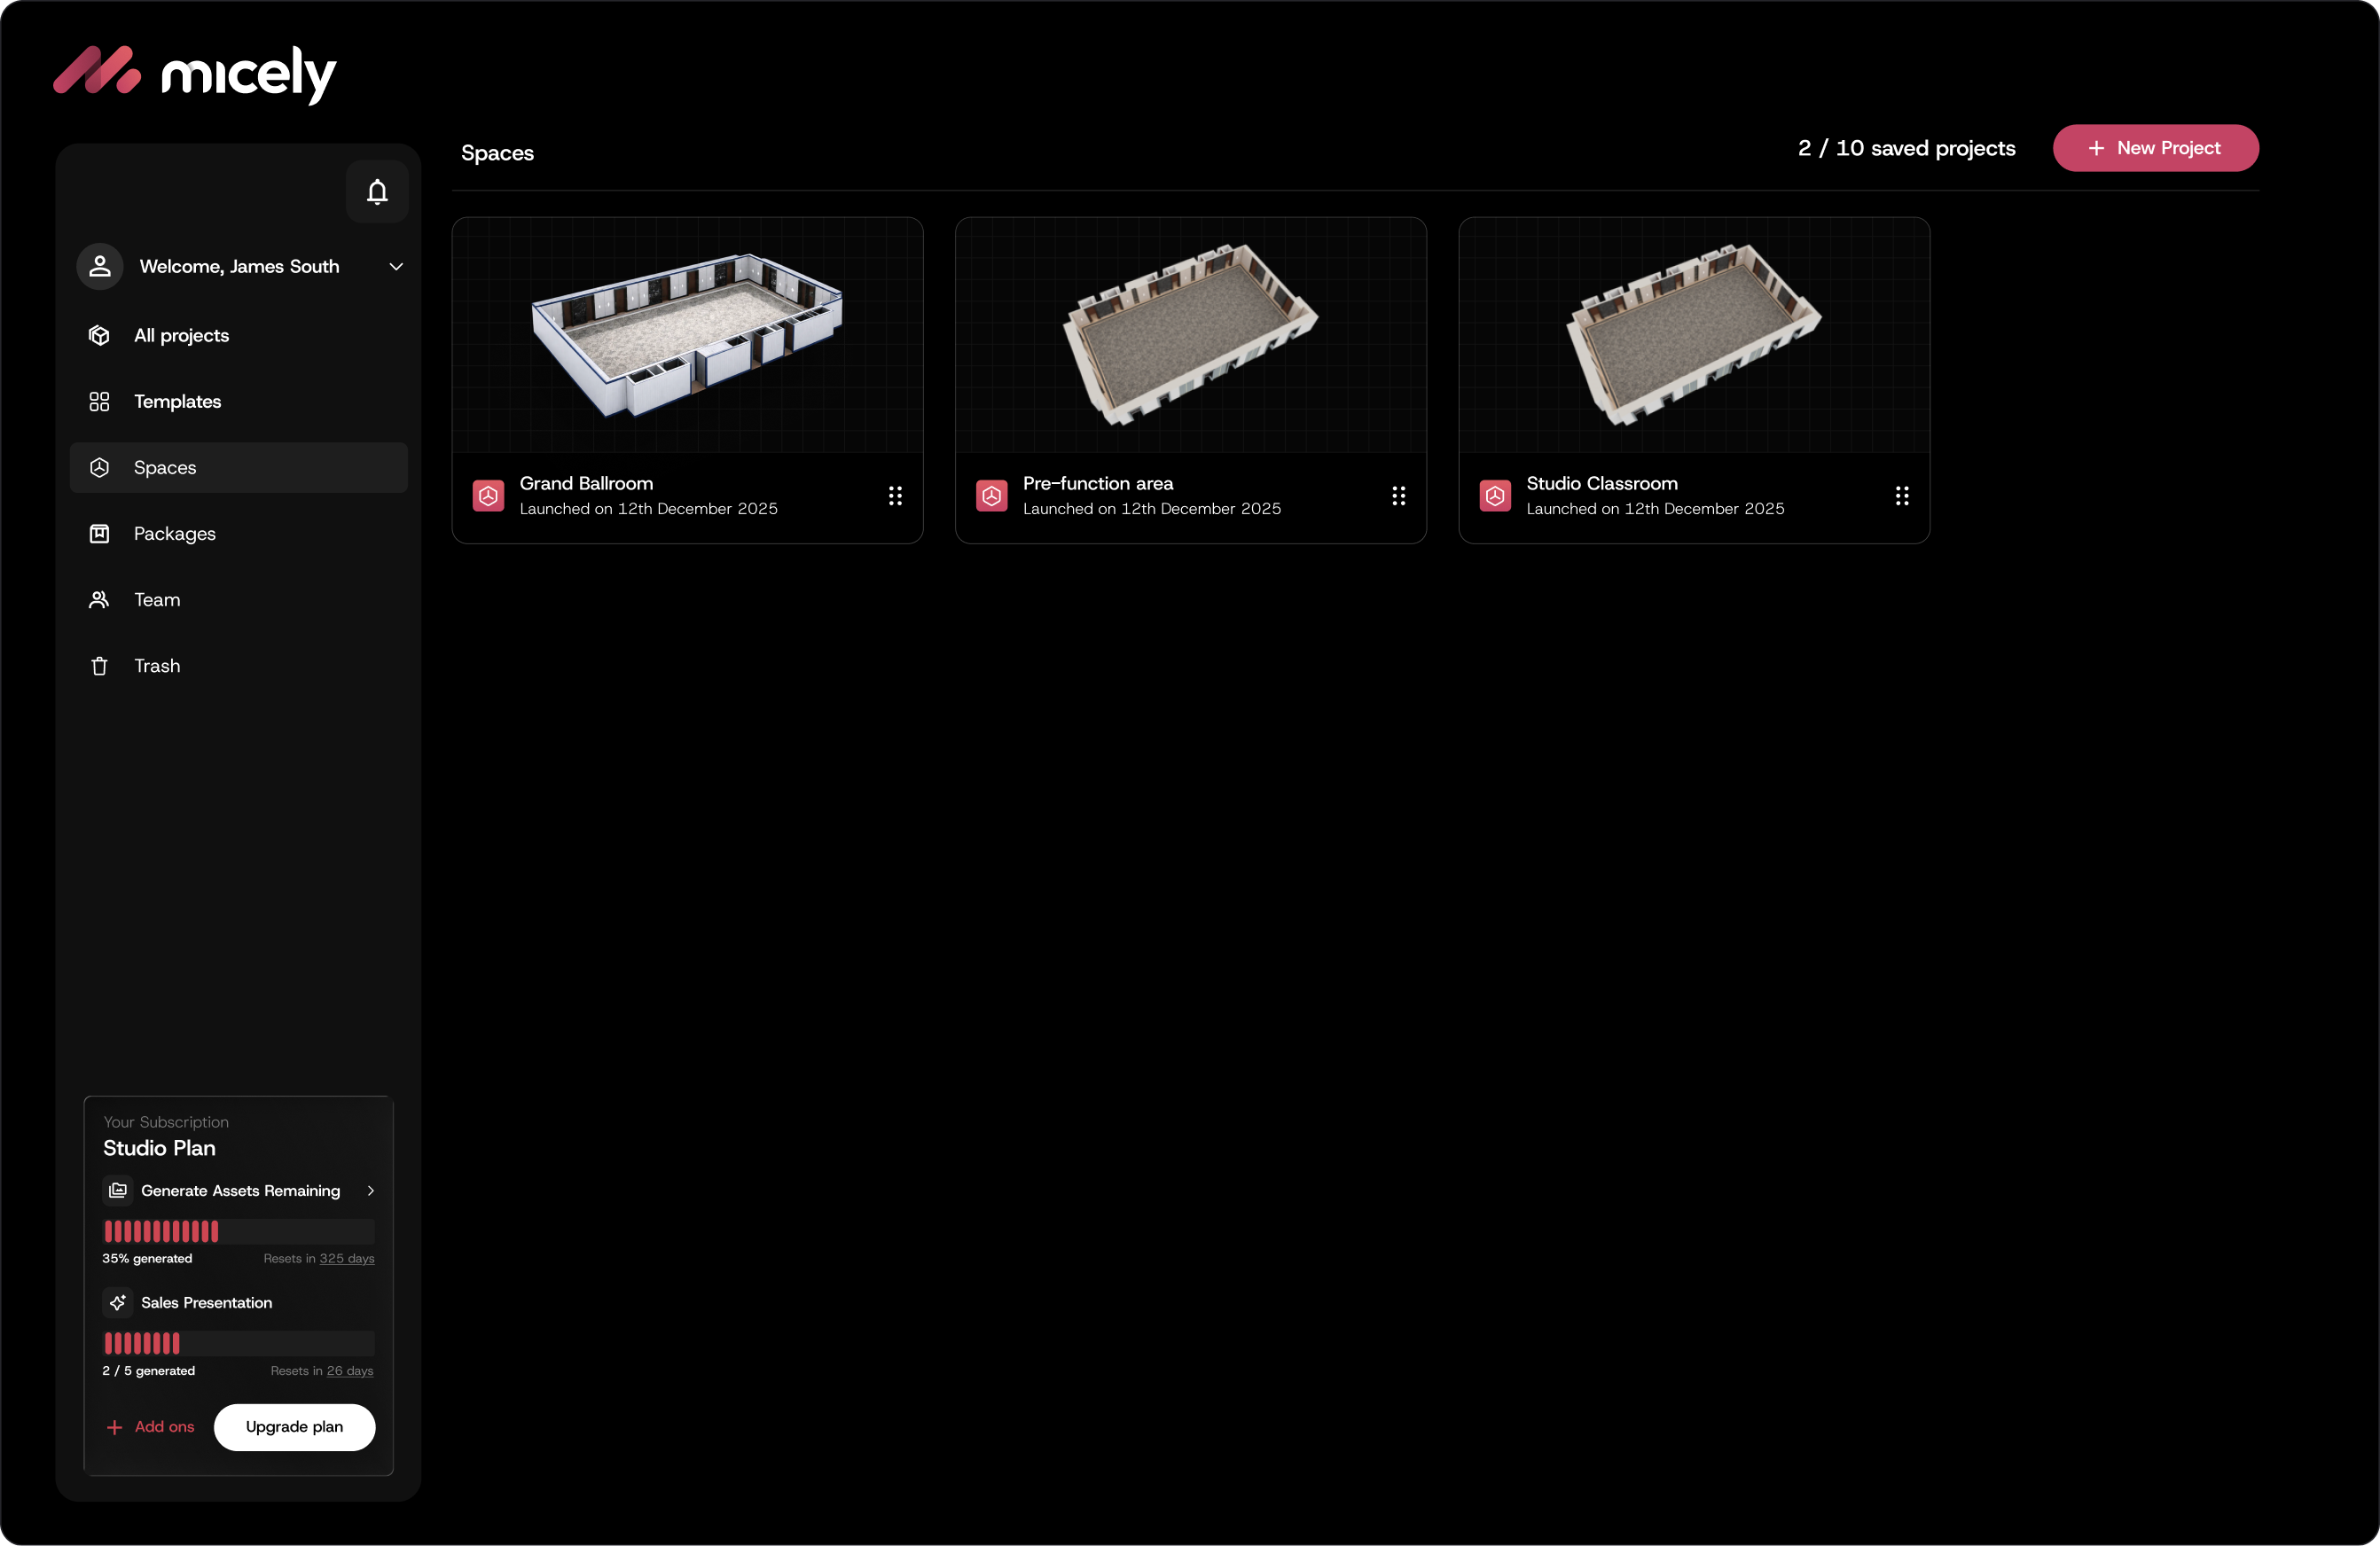
A space is a 3D representation of a venue area or a specific room configuration. Each distinct partition configuration counts as a separate Unique Space.
For example, a full ballroom and two divided configurations count as three spaces. Confirm the configurations you need before capture and modelling begin.
Prepare your venue
Share the information needed to recreate your space accurately:
- Floor plans, dimensions and ceiling heights.
- Recent photographs and relevant venue specifications.
- Partition positions and the configurations you want to offer.
- Furniture references, quantities and dimensions.
- A venue contact who can coordinate access and answer questions.
- Details of planned renovations or changes to the space.
Capture and 3D modelling
Venue capture records the physical space. 3D modelling turns the agreed inputs into a model your team can use in Micely. These are separate parts of the implementation scope.
Confirm the areas to capture, access arrangements and required inputs in your Service Order before work starts. The integration fee includes accommodation when our team visits to photograph your property, for example 1 person for 1 night including 3 meals. Any further travel or scheduling is confirmed in that order.
Delivery and review
The estimated delivery time is ten business days per Unique Space after the required inputs have been received. Your implementation team will confirm the schedule for your venue.
Review the model against the agreed configuration, dimensions, finishes and furniture references. Send consolidated feedback with screenshots or clear descriptions of the changes required. Included revisions and acceptance arrangements follow your agreed scope.
Use a space in a project
Once the space is ready, choose it when creating a project. Add furniture and event items, then use Top View and Walkthrough mode to review the arrangement.
Ask your venue team to confirm practical details such as circulation, entrances and operational requirements before presenting the layout to a client.
Upload custom objects & furniture
Add venue-specific furniture to your layouts by submitting reference photos or a video, along with the object’s specifications, for 3D conversion.
1. Open Add custom object
In the 3D editor, open Assets Library and select Add object.
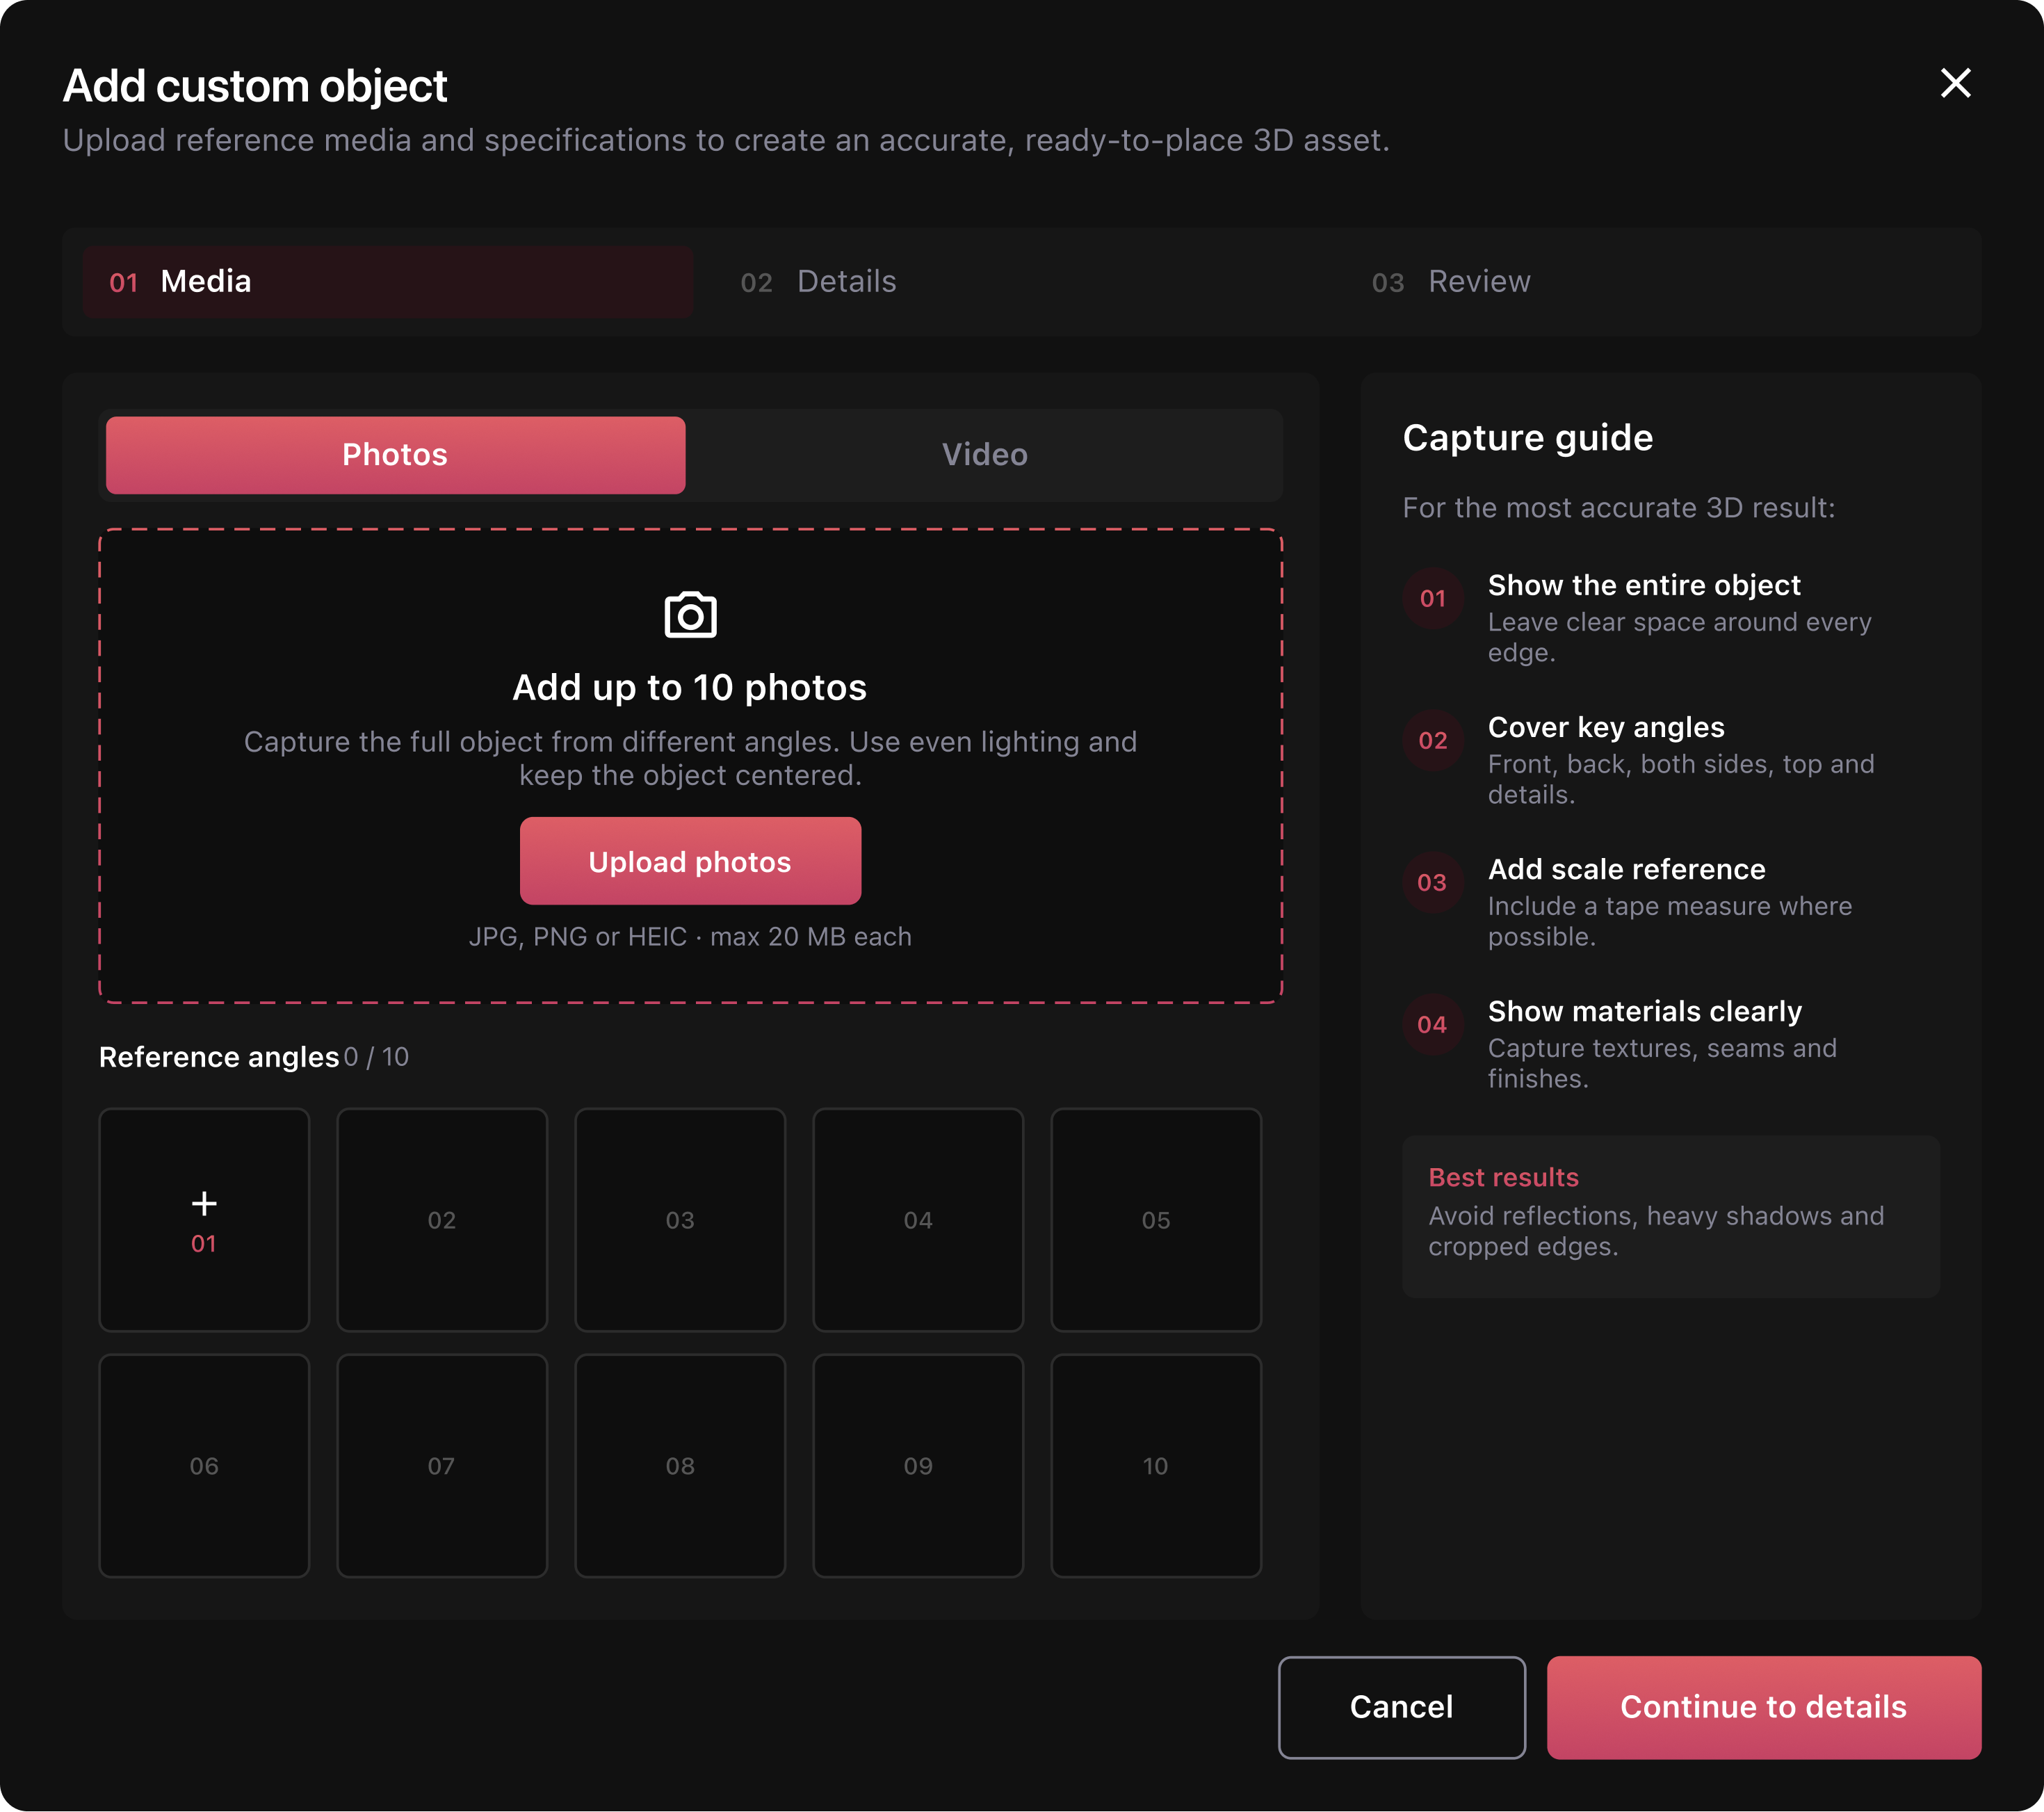
2. Upload photos or a video
Choose one reference format: • Photos: up to 10 JPG, PNG or HEIC files, with a maximum of 20 MB per file. • Video: one MP4 or MOV file, up to 60 seconds and 500 MB. A video replaces the photo set. Show the full object from different angles with even lighting. Include a scale reference and clear material details, then select Continue to details.
3. Add details and dimensions
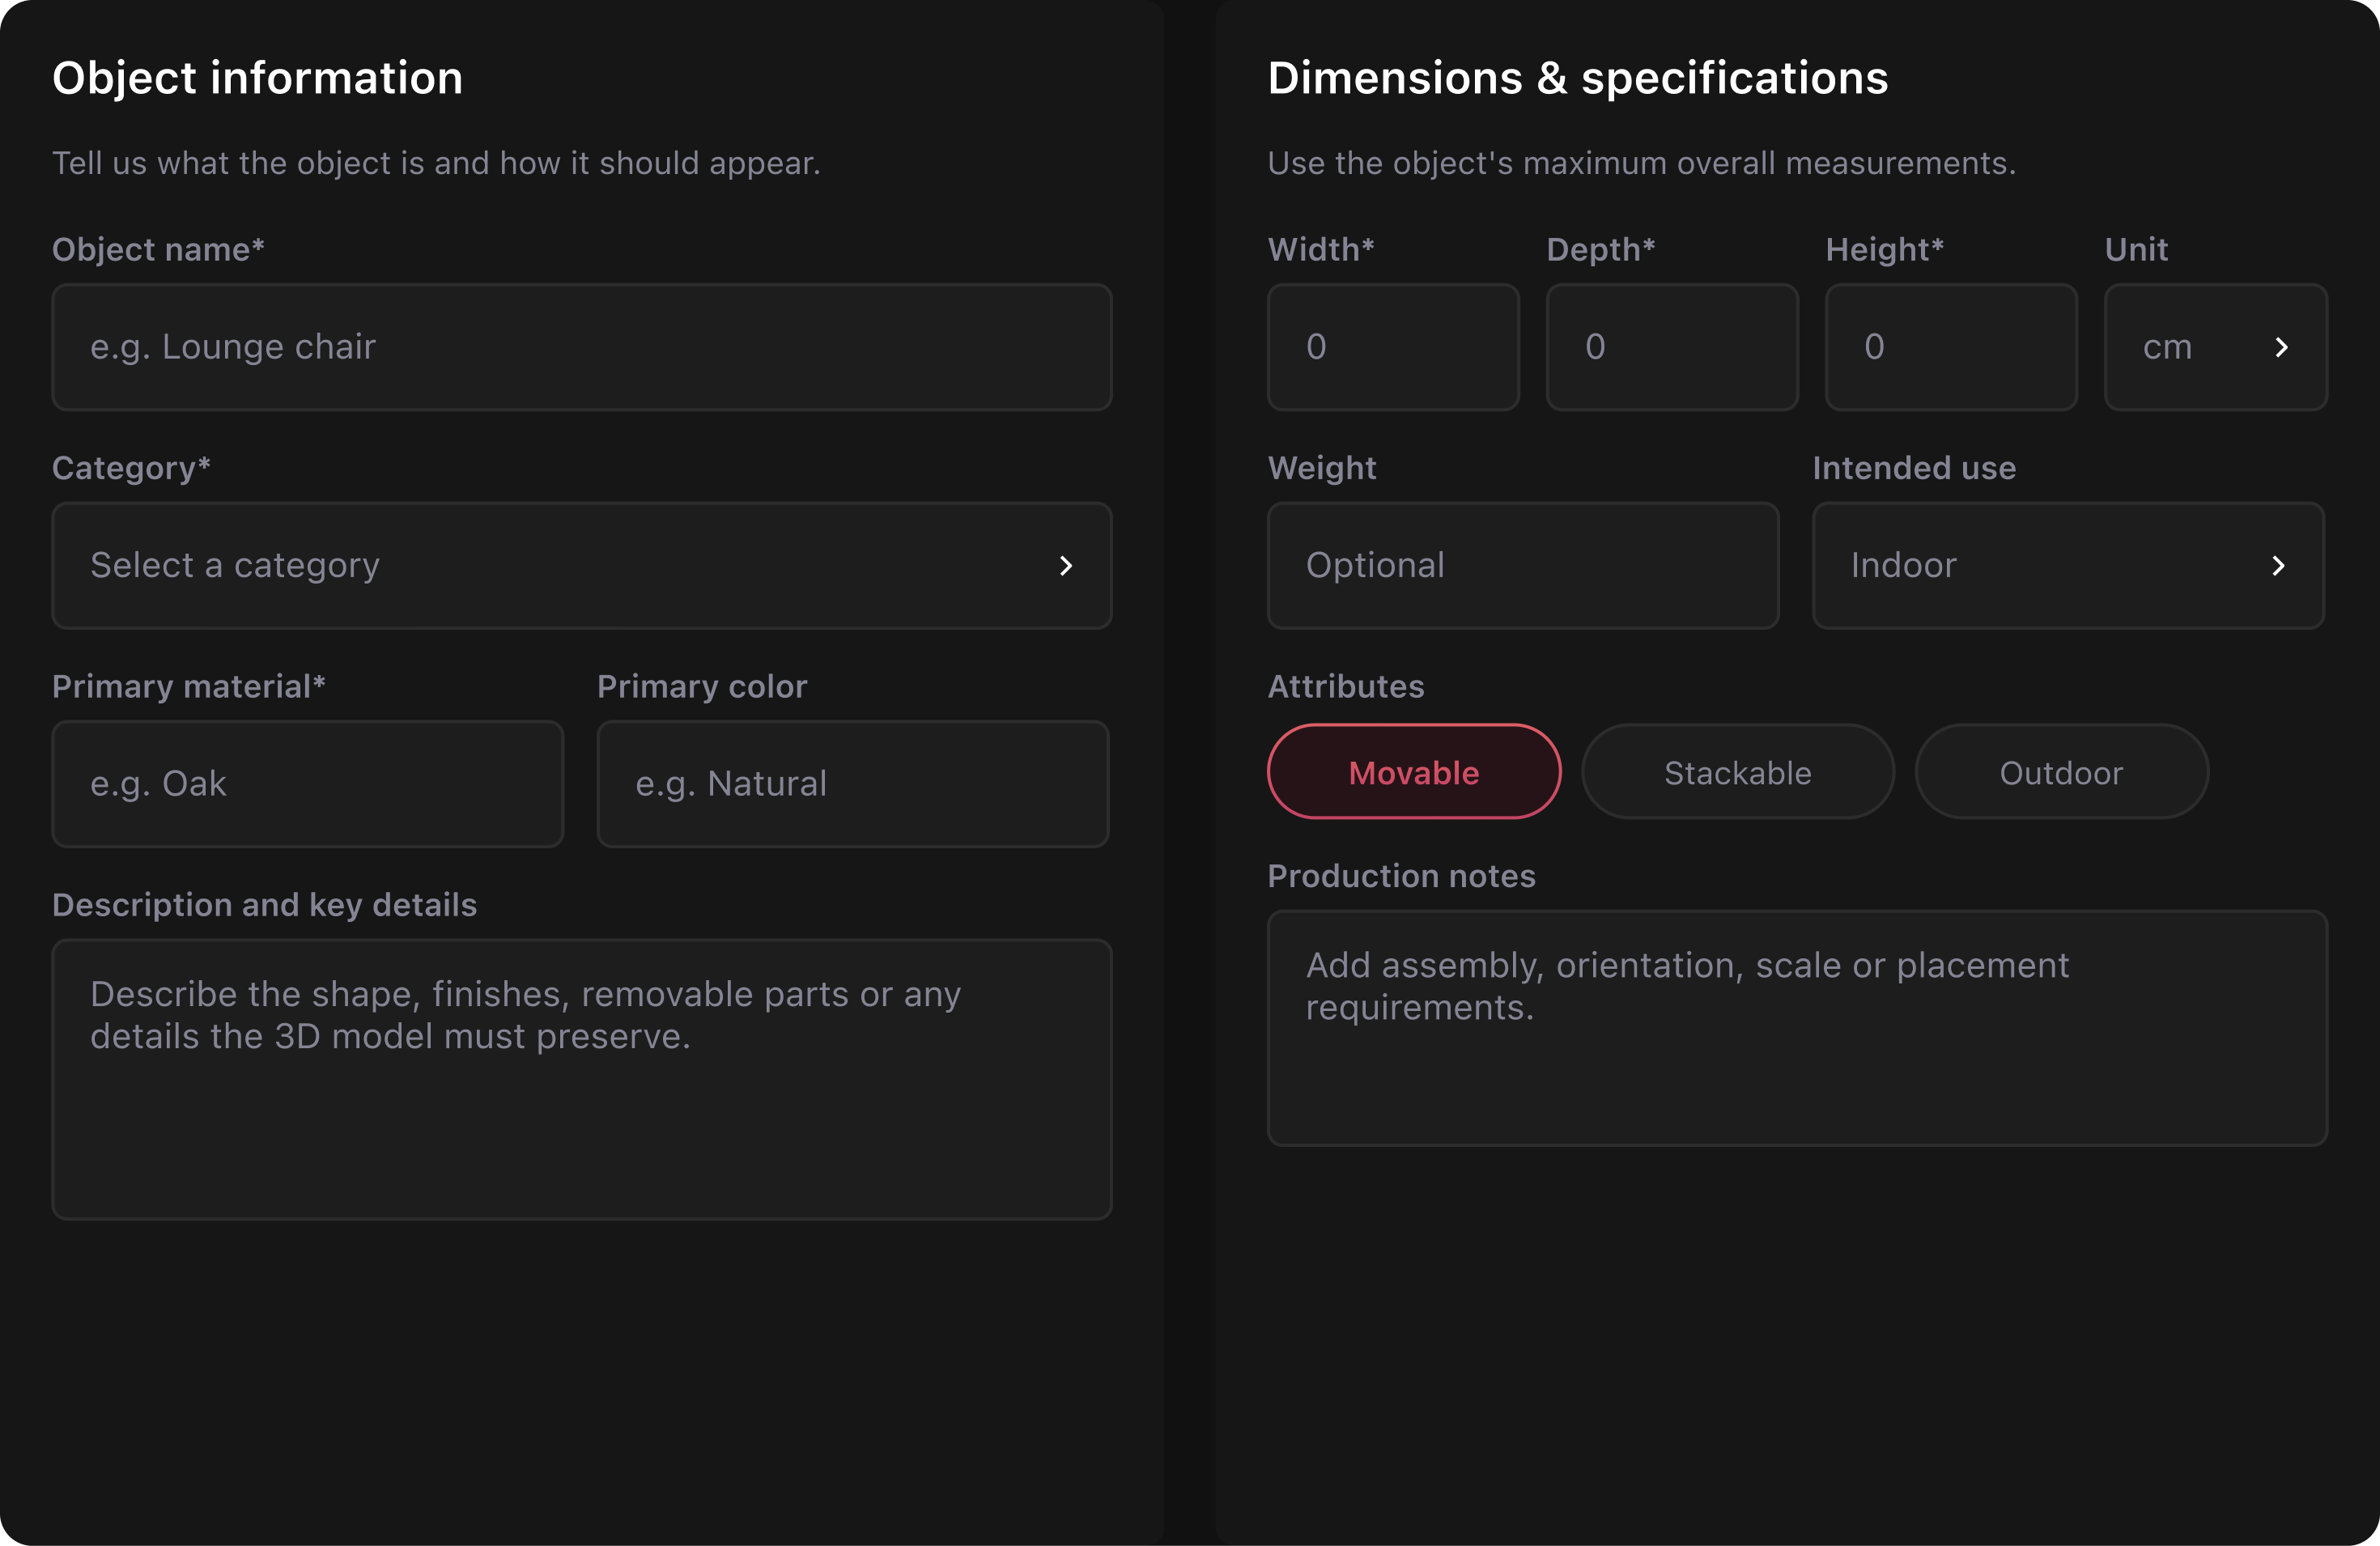
Enter the object name, category and primary material. Add the maximum overall width, depth and height, and check the measurement unit. Include the color, intended use, attributes and production notes where relevant.
4. Review and submit
Select Review object. Check the reference media, measurements and object summary, then confirm that the information is accurate and select Submit for 3D conversion.
5. Track the request and use the finished asset
Select View request after submission to open Requested objects. Follow the request through review and production; the team may ask for clearer media or updated measurements. When the request is Finished, select Open in Asset Library to preview the model and use it in your layout.
For help with a request, include the object name and request ID when contacting support.
Update an existing space
Tell your implementation contact about changes that affect the model. A material renovation is treated as a new space.
Share the revised floor plan, photographs and affected configurations so the team can confirm the work, price and delivery schedule before production begins.